mortred_model_server
Tutorials Of Feature Point Model Server
Start A Feature Point Server
It’s very quick to start a feature point server. Main code are showed below
Feature Point Server Code Snappit
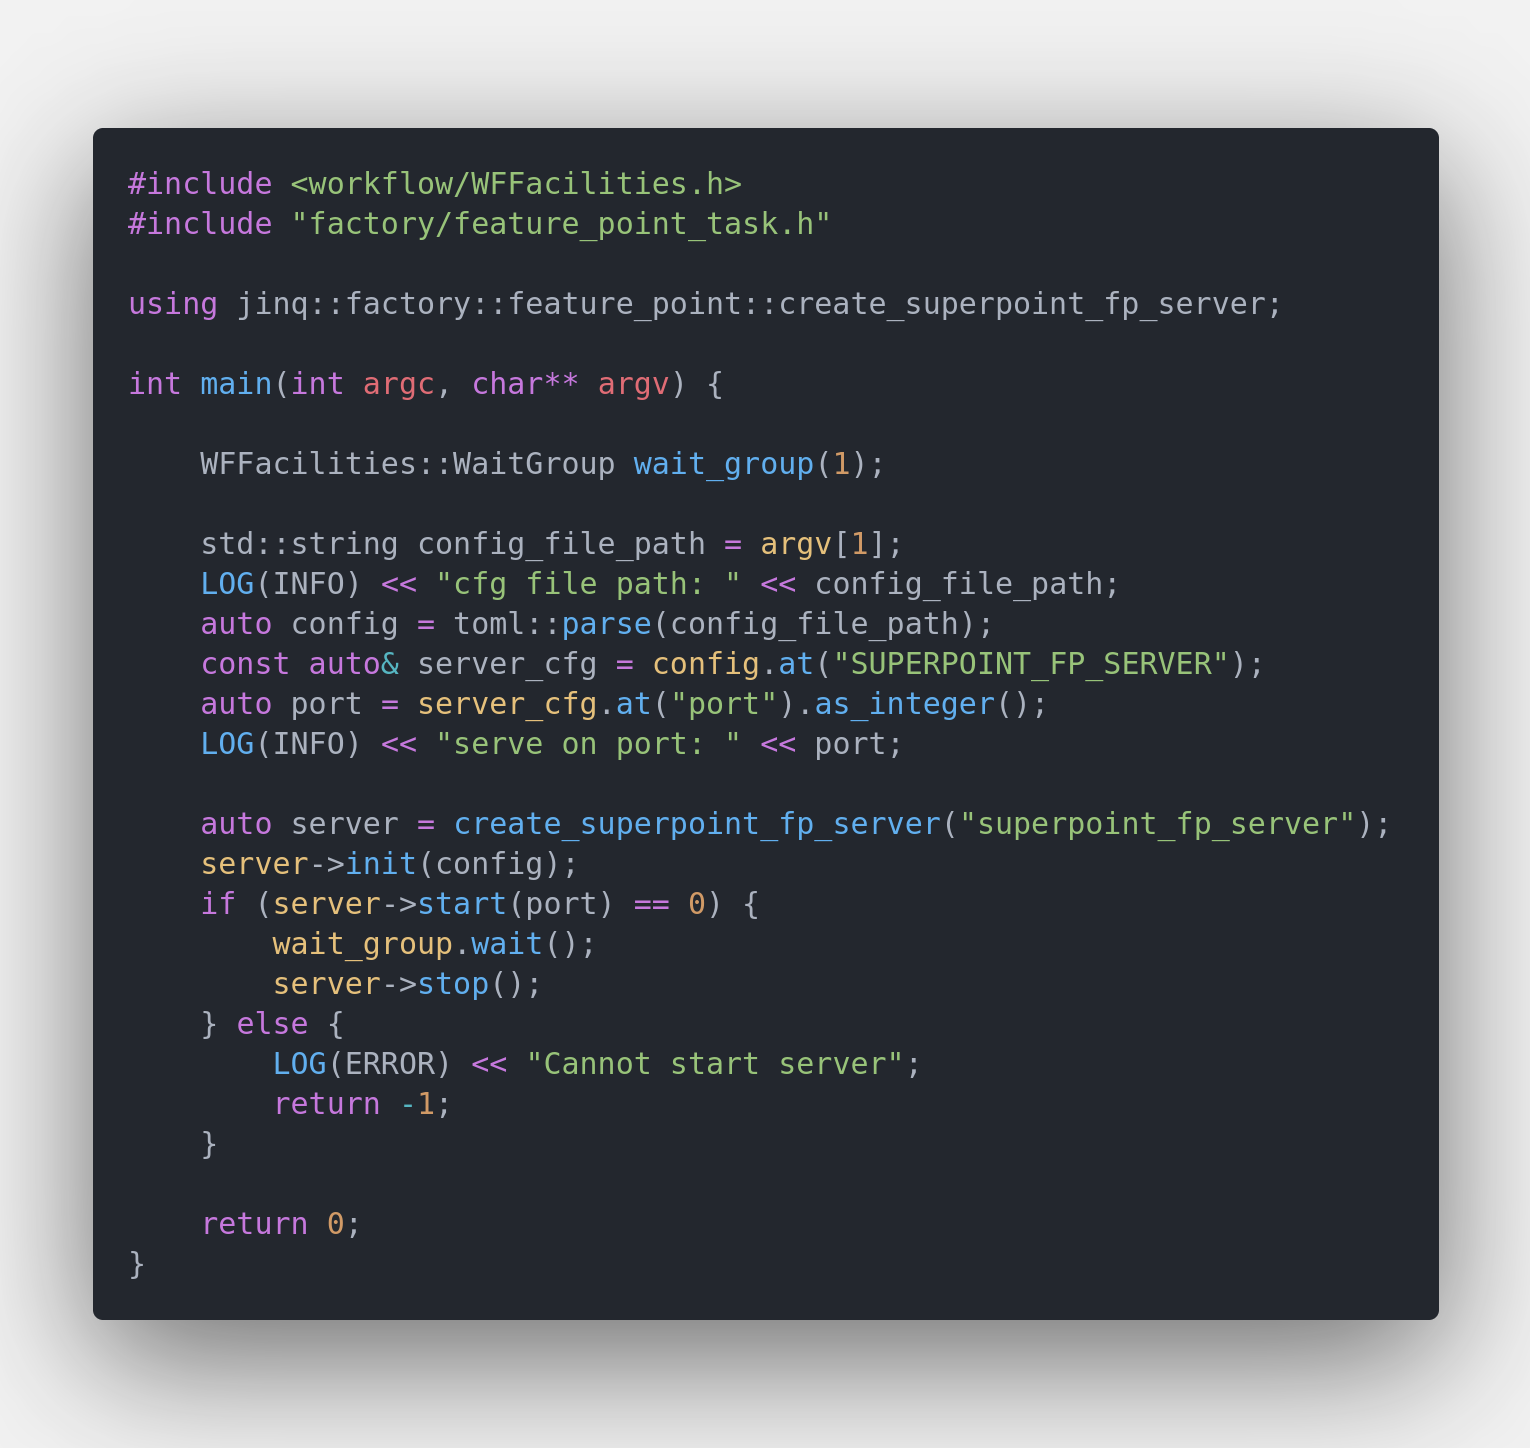
The unified server binary is $PROJECT_ROOT/_bin/mortred-model-server.out. Simply run
cd $PROJECT_ROOT/_bin
./mortred-model-server.out --model SUPERPOINT ../conf/server/feature_point/superpoint/superpoint_server_cfg.toml
When the server starts successfully at the port configured in your server config (conf/server/<task>/<model>/*.toml), worker_nums workers will be spawned and occupy your GPU resources. The shipped configs default to worker_nums=1; you may enlarge it if you have enough GPU memory.
Python Client Example
The Python client is the same as the classification tutorial: tutorials_of_classification_model_server.md.
cd $PROJECT_ROOT
python3 scripts/server/test_server.py --server superpoint --mode single
Unique Tips For Feature Point Model Python Client
The JSON payload is built by fill_feature_points.
Each point is score, location [x, y], and descriptor.
{
  "status": 0,
  "status_str": "OK",
  "task_id": "demo",
  "results": [
    {
      "status": 0,
      "data": [
        {
          "score": 0.95,
          "location": [100.5, 85.4],
          "descriptor": []
        }
      ]
    }
  ],
  "partial": false
}
location contains the feature points’ location information and you can visualization the result by yourself.
Feature Point Model’s Visualization Result
SuperPoint Model
superpoint model was designed for detect and describe feature point on images. You may refer to repo https://github.com/magicleap/SuperPointPretrainedNetwork for details about training details.
Server's Input Image

Server's Output Image With Different Model

