mortred_model_server
Tutorials Of Scene Segmentation Model Server
Start A Scene Segmentation Server
It’s very quick to start a scene segmentation server. Main code are showed below
Scene Segmentation Server Code Snappit
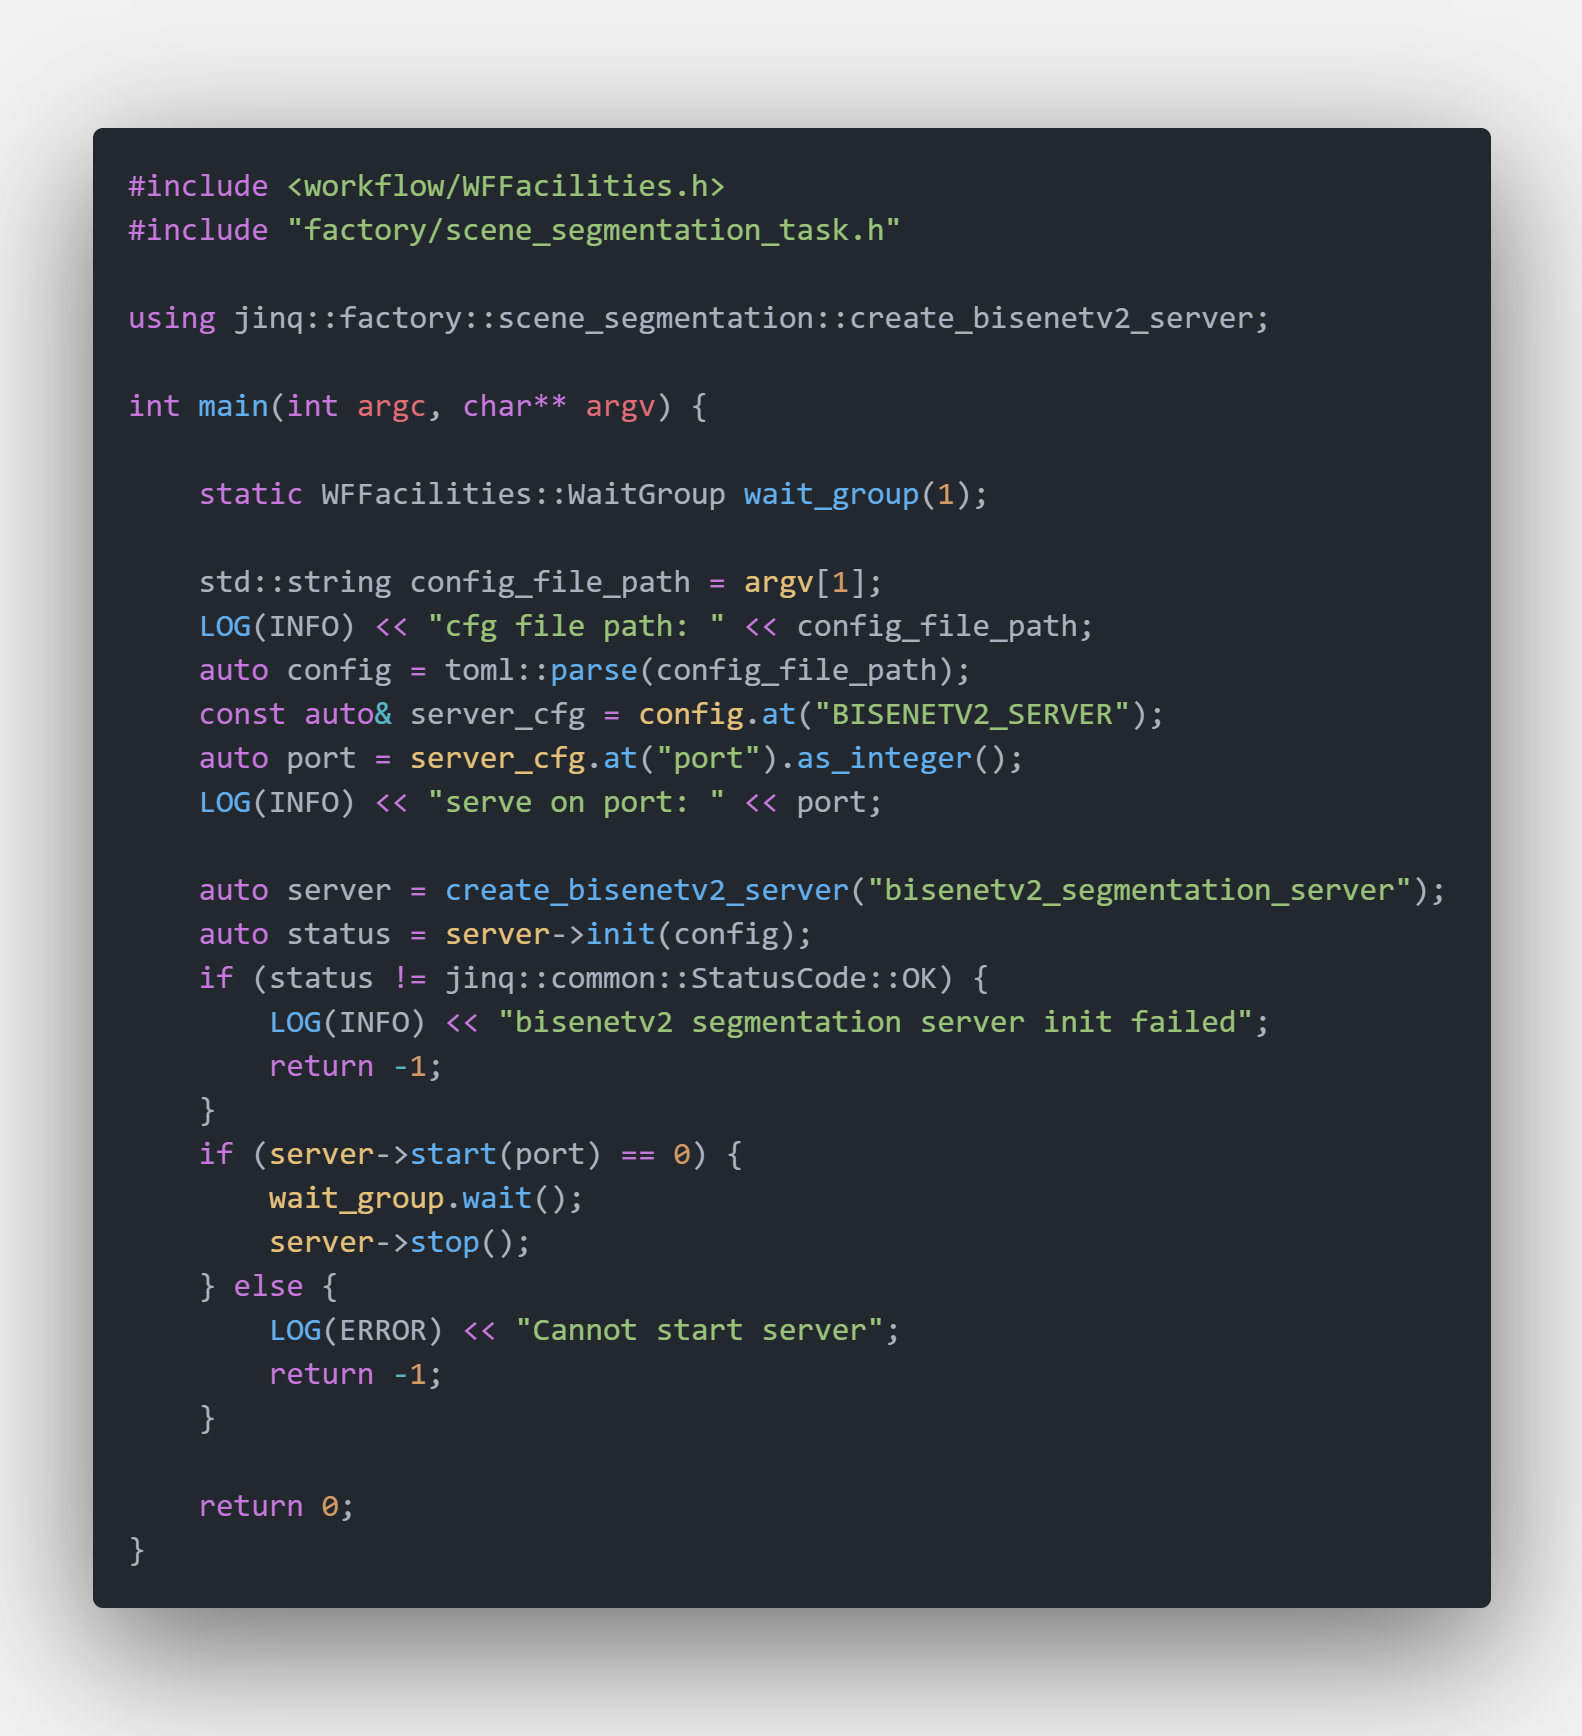
The unified server binary is $PROJECT_ROOT/_bin/mortred-model-server.out. Simply run
cd $PROJECT_ROOT/_bin
./mortred-model-server.out --model BISENETV2 ../conf/server/scene_segmentation/bisenetv2/bisenetv2_server_config.toml
When the server starts successfully at the port configured in your server config (conf/server/<task>/<model>/*.toml), worker_nums workers will be spawned and occupy your GPU resources. The shipped configs default to worker_nums=1; you may enlarge it if you have enough GPU memory.
Python Client Example
The Python client is the same as the classification tutorial: tutorials_of_classification_model_server.md.
cd $PROJECT_ROOT
python3 scripts/server/test_server.py --server bisenetv2 --mode single
Unique Tips For Scene Segmentation Model Python Client
Scene segmentation returns a class map the size of the input image. The
payload is results[0].data (image = mask PNG base64, colorized_mask =
colorized PNG base64).
{
  "status": 0,
  "status_str": "OK",
  "task_id": "demo",
  "results": [
    {
      "status": 0,
      "data": {
        "image": "<png base64>",
        "colorized_mask": "<png base64>"
      }
    }
  ],
  "partial": false
}
To save the colorized mask:
import base64
import json
import urllib.request

with open(src_image_path, "rb") as f:
    img_b64 = base64.b64encode(f.read()).decode()

body = json.dumps({"images": [img_b64], "req_id": "demo"}).encode()
req = urllib.request.Request(
    url, data=body, headers={"Content-Type": "application/json"}
)
resp = json.loads(urllib.request.urlopen(req).read())
output = resp["results"][0]["data"]["colorized_mask"]
with open("result.png", "wb") as out_f:
    out_f.write(base64.b64decode(output))
Scene Segmentation Model’s Visualization Result
BisenetV2 Model
BisenetV2 :fire: model was designed for fast scene segmentation task. You may refer to repo https://github.com/MaybeShewill-CV/bisenetv2-tensorflow for details about training details.
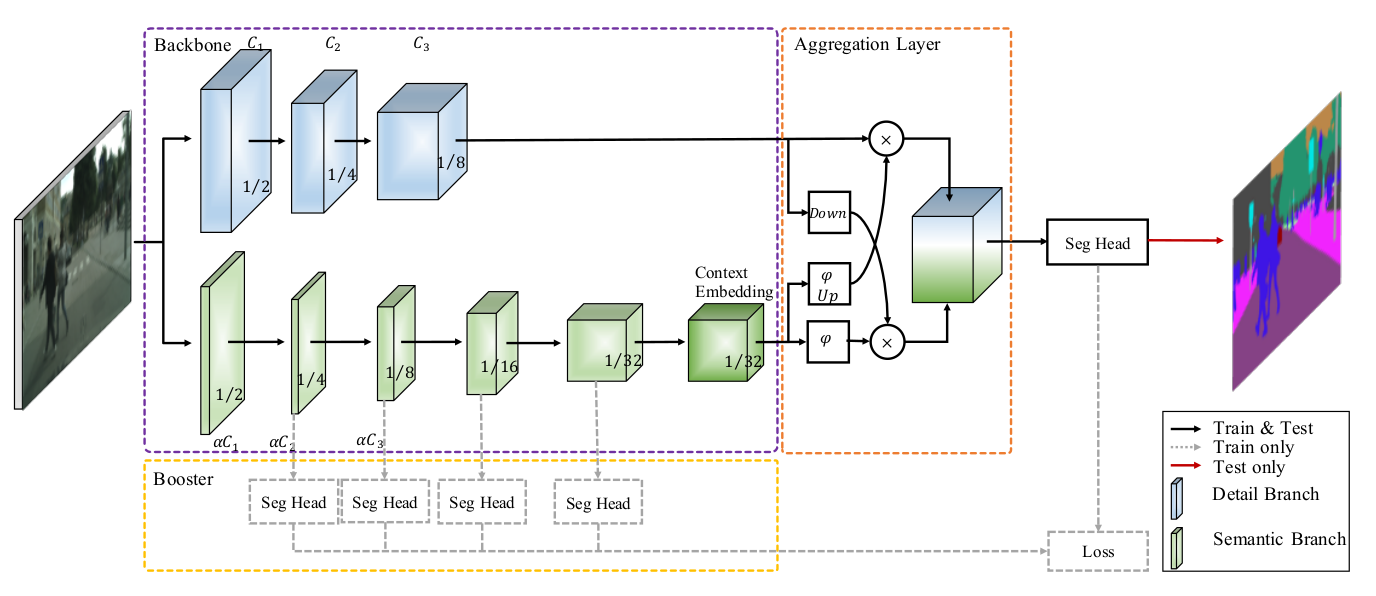
Network’s main structure is
Bisenetv2 Network Architecture
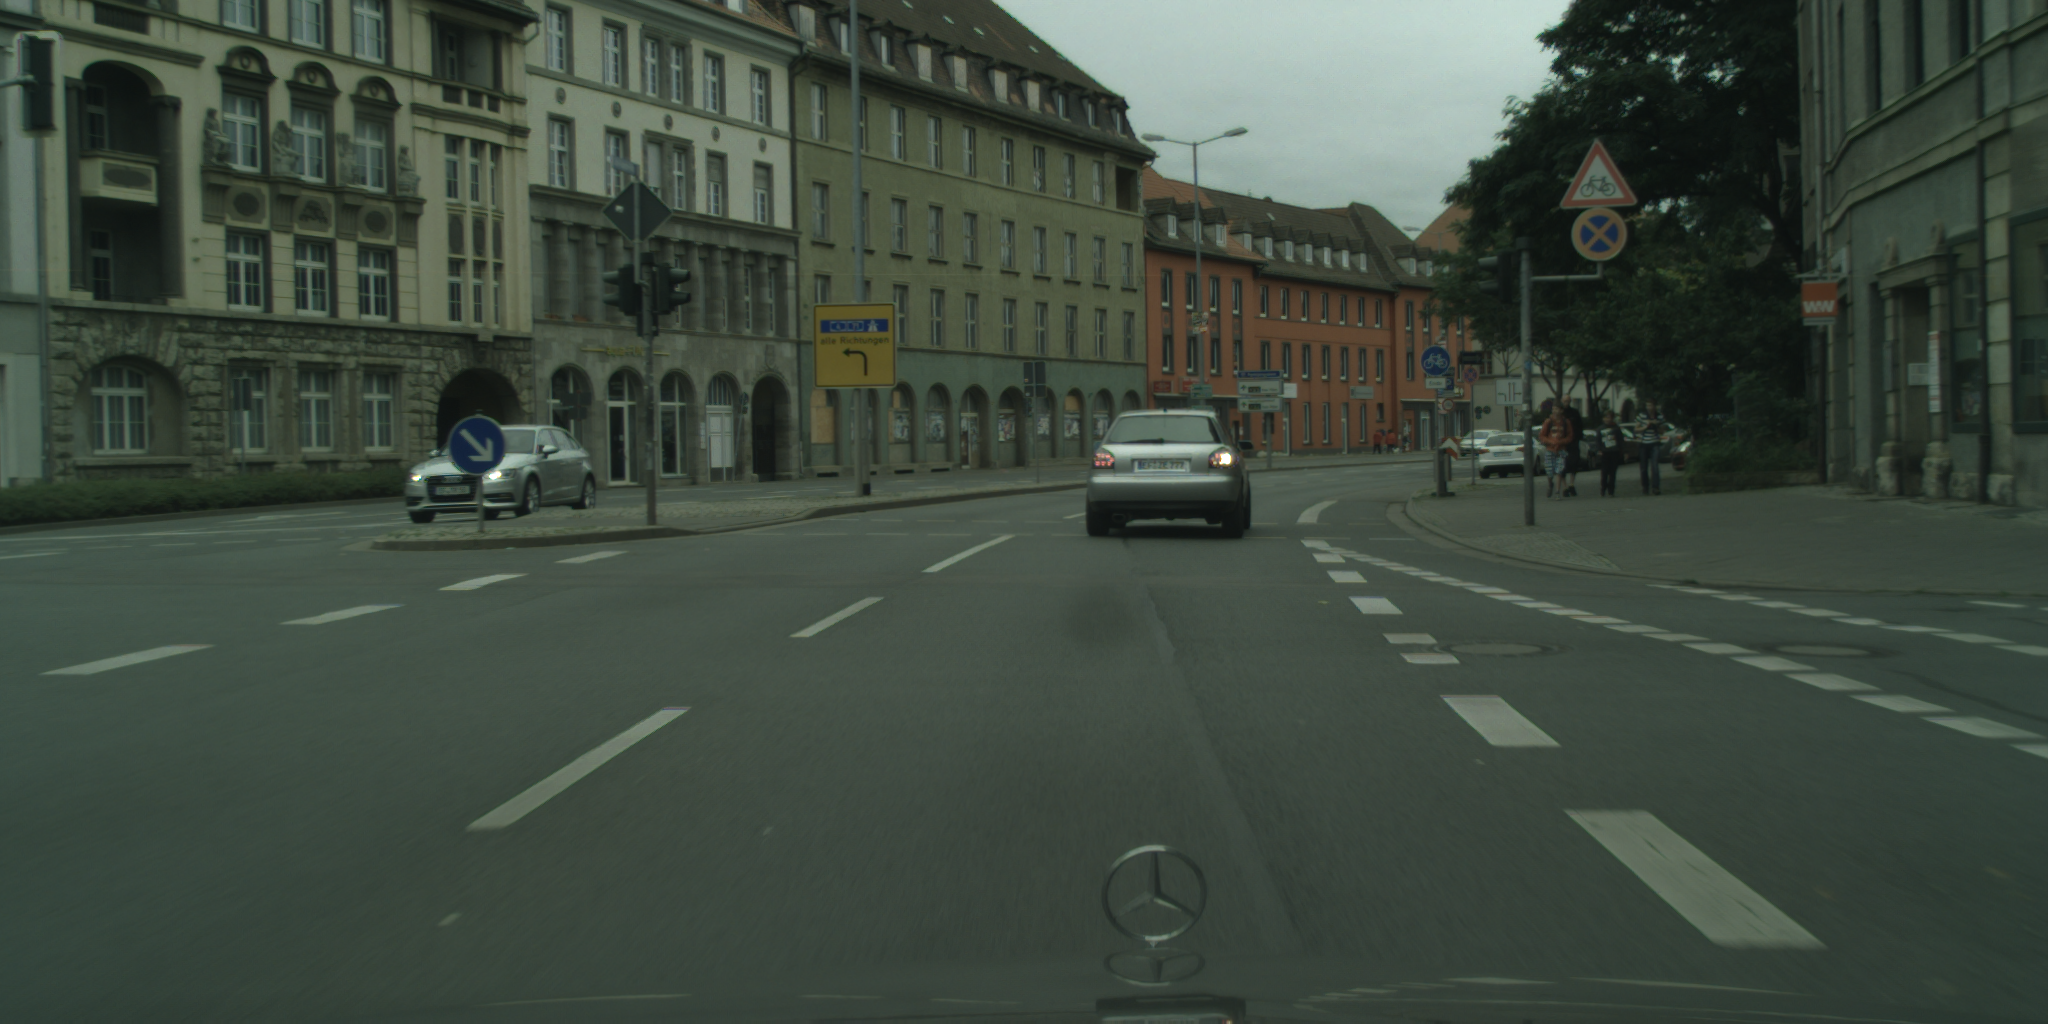
Server's Input Image
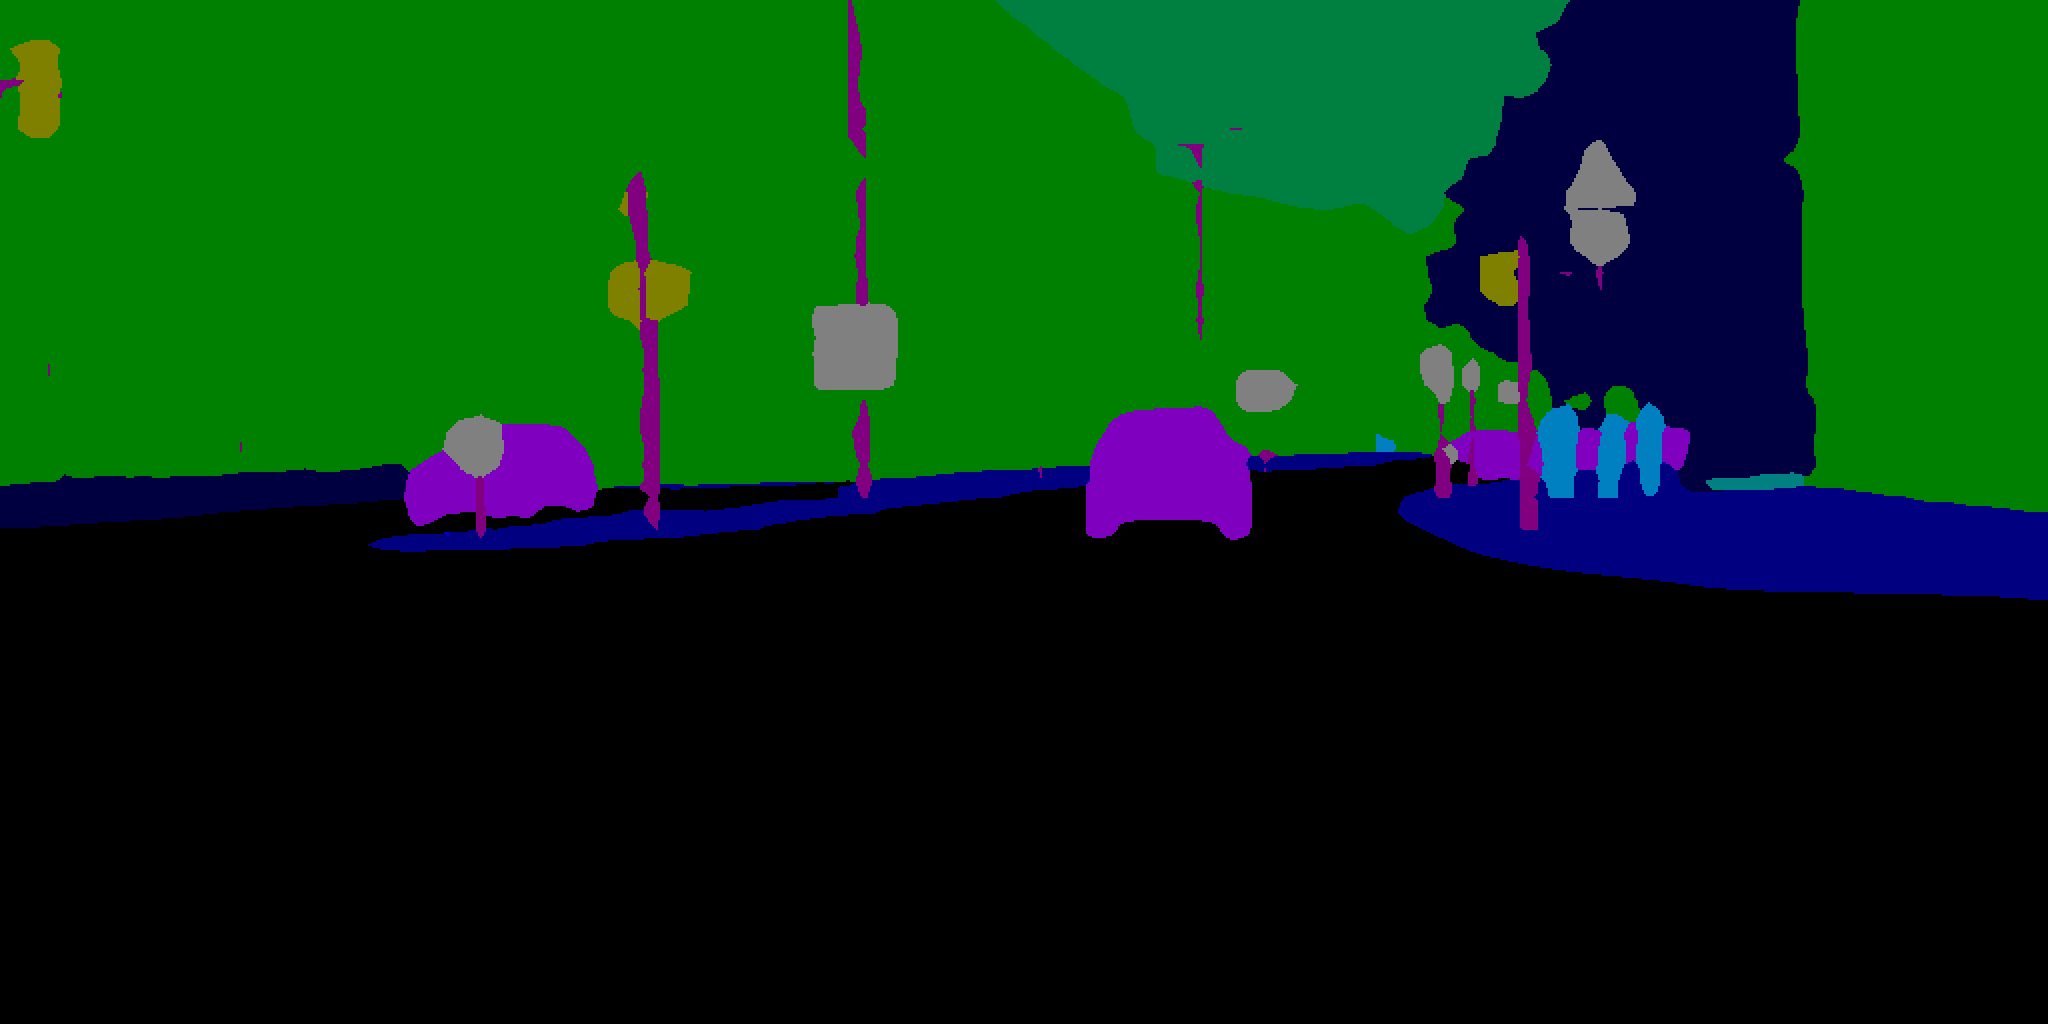
Server's Output Image